Paper planning is a fun and easy way to organize your life. If you like using a notebook and pen instead of digital apps, this method could work great for you!
It helps you stay focused, avoid distractions (like phone notifications), and even remember things better.
Let’s walk through how to get started, with tips, examples, and tools to help you plan like a pro.
Why Try Paper Planning?
Many people say that writing things down helps them think more clearly. Unlike phones or apps, a paper planner won’t distract you with pop-ups or pings. It’s simple, quiet, and just for you.
You can use it to:
- Plan your daily schedule
- Track your habits
- Set and reach goals
- Reflect on your progress
- Stay more focused and calm
How to Start Paper Planning in 7 Easy Steps
Step 1: Define Your Goal
Ask yourself: Why do I want to start planning?
Here are a few examples:
- To be more productive, plan your day hour by hour.
- To build better habits, track small actions daily.
- To set and achieve goals, map out big-picture steps.
💡 Example: Emma, a 7th grader, uses her planner to track homework, soccer practice, and reading goals.
Before you begin, ask yourself:
- What do I want to organize?
- Am I planning for today, this week, or the whole month?
- What do I need to plan better?
- What’s already taking up my time?
- How can I plan something I enjoy?
Step 2: Pick the Right Planner
Not all planners are the same. Choose one that fits your style.
Choose a type
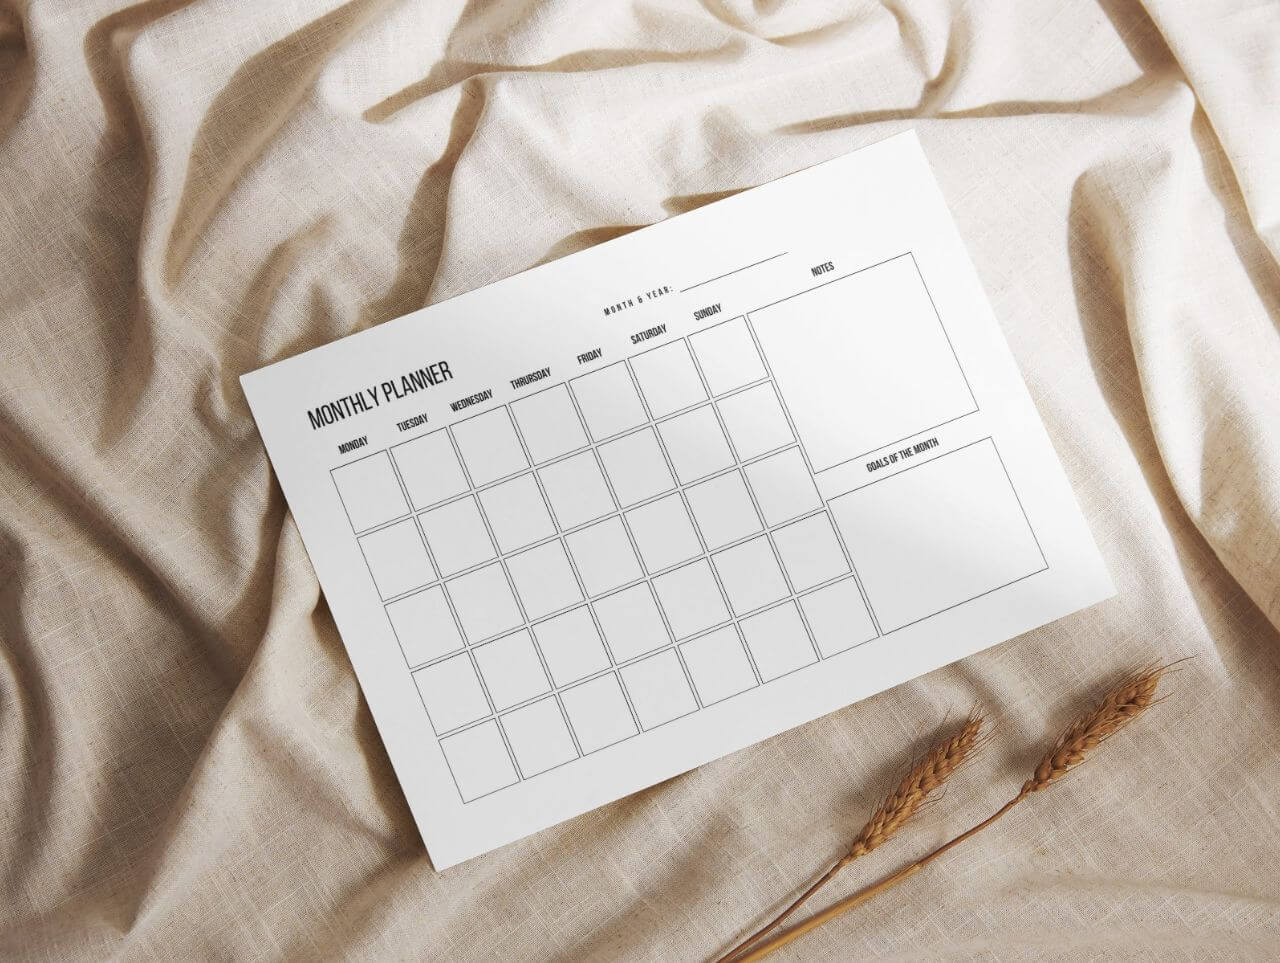
- Monthly Planners – See the big picture. Great for long-term goals.
- Weekly Planners – Plan your week at a glance.
- Daily Planners – Break your day into hours. Perfect for busy schedules.
- Bullet Journals – Customize everything! Great for creativity and habit tracking.
Pick a size
Choose a size based on how you’ll use it:
| Use | Size | Why |
|---|---|---|
| Daily planning | A5, B6 | Easy to carry, perfect for everyday tasks |
| Project planning | A4, Letter | Lots of space to write |
| Quick notes | A6 | Fits in your pocket |
| Creative journals | B5, A4 | Room for drawing, decorating, or big ideas |
Step 4: Set Up Your Planner
Now it’s time to make your planner your own.
Try these tips:
- Track Your Budget – Add a section for savings, spending, or allowance.
- Color Code – Use different colors for categories (like red for homework, blue for chores).
- Add Decorations – Stickers, doodles, and washi tape can make planning more fun.
- Create Theme Pages – Include mood boards, quotes, or goal trackers.
Step 5: Start Planning
There are lots of ways to organize your pages. Choose what fits your goals.
Here are a few planning styles:
- Bullet Journaling – Use short notes, symbols, and lists to stay organized.
- Eisenhower Matrix – Sort tasks by what’s urgent and important.
- Mind Mapping – Start with one idea and branch out your thoughts.
💡 Example: Carlos, a student-athlete, uses time-blocking. He sets aside time for classes, practice, and video games so nothing gets missed.
Step 6: Get Inspired by Real Examples
Daily Schedule Example (for School & Life):
9:00 AM – Math homework
10:00 AM – Science project research
11:00 AM – Walk the dog
1:00 PM – Lunch
2:00 PM – Practice guitar
3:00 PM – Help mom with groceries
💡 Tip: Leave buffer time between tasks. You don’t have to fill every minute!
Eisenhower Matrix Example:
- Important & Urgent – Study for a big test tomorrow
- Important, Not Urgent – Sign up for summer camp
- Urgent, Not Important – Reply to group chat
- Not Urgent, Not Important – Watch random YouTube videos
Weekly Planning Example:
- Sunday: Set up your planner. Write down your goals and any important events.
- Monday to Friday: Use your planner each morning or night to check off tasks and write down new ones.
- Wednesday: Do a midweek check-in. Are you on track? Do you need to adjust anything?
- Friday: Celebrate your wins! Reflect on what went well and what didn’t.
- Saturday: Take a break or decorate your planner with fun stickers or doodles.
You don’t need to follow this exactly – make it your own!
Step 7: Stay Consistent
Starting is easy – sticking with it takes practice! Here’s how:
- Set a Routine – Plan at the same time each day or week.
- Review Your Progress – Look back and check what you’ve done.
- Be Flexible – If plans change, that’s okay. Move tasks around as needed.
💡 Tip: Sunday night is a great time to prep for the week ahead.
Try Different Types and Layouts
Don’t feel stuck with one way of doing things. Experiment until you find what works best!
Planning Types to Try
- Simple Lists – Great for beginners.
- Weekly Priorities – Focus on 2-3 big things each week.
- Daily To-Dos – Break down goals into small steps.
- Time Blocking – Divide your day into blocks for specific tasks.
Planner Layouts You Might Like
- Vertical Layout – See each day as a column.
- Horizontal Layout – Spread out your week across the page.
- Grid/Dot Layout – Customize everything in a bullet journal style.
- Dashboard Layout – Mix lists, notes, and calendars on one page.
Ready to Start Paper Planning?
Paper planning isn’t just about writing things down – it’s about building better habits, staying focused, and creating a system that works for you.
So grab your planner, pick up your favorite pen, and take the first step.
Your Next Move
Want to get even more from your planner?
Check out these helpful guides on the Pixelartive Blog:
Quick Glossary: Planning Terms Made Simple
New to planning? No worries! Here are a few simple terms you might see while getting started:
- Bullet Journal – A notebook you create and design yourself with lists, trackers, and notes using symbols or “bullets.”
- Time Blocking – Dividing your day into blocks of time for different activities (like school, homework, and chores).
- Habit Tracker – A chart that helps you track your daily habits (like brushing your teeth or drinking water).
- Eisenhower Matrix – A tool that helps you sort tasks by what’s urgent and what’s important so you know what to do first.
- Monthly Layout – A calendar view where you can see the whole month at a glance.
- Daily Spread – A page where you write down what you want to do today, from morning to night.
Tip: Don’t stress if you don’t remember them all at once. The more you use your planner, the easier it gets!