If you’ve ever bought a planner and then left it sitting on your shelf, you’re not alone. But when used right, a planner can help you stay on top of everything – from your daily to-dos to your biggest goals.
This guide will help you set it up in a way that works for you, so you’ll actually want to use it every day.
Why Use a Planner in the First Place?
A planner isn’t just for people with super busy schedules. It’s a tool that helps you:
- Organize your days and weeks with intention
- Track habits and reach personal goals
- Avoid last-minute rushes and forgotten tasks
- Stay focused on what matters most
Want a head start? Try a pre-designed planner layout that works right away.
Step 1: Choose the Right Planner for You
There’s no one-size-fits-all. The best planner is the one you’ll actually use.
| Planner Type | Best For |
|---|---|
| Digital Planners | Tech-savvy folks who prefer tablets or phones. Easy to update and carry. |
| Printable Planners | People who enjoy writing things down and customizing layouts. |
👉 Explore Pixelartive’s bestselling digital planners
👉 Get started with our printable planner kits
👉 Difference between digital and printable planners
Step 2: Personalize Your Planner
Personal touches make your planner feel more like yours – and using it becomes something you look forward to.
- Add your name or a favorite quote to the cover
- Choose colors or themes that reflect your style
- Use stickers, tabs, or highlighters to make things pop
Bonus Tip: Keep it functional. Decorate, but don’t overcrowd your pages.
Step 3: Set Up the Right Sections
Every planner should have a few core areas. Start with these and add more based on your needs.
Must-Have Sections
- Monthly Overview: Big-picture planning (deadlines, goals, key events)
- Weekly & Daily Pages: Detailed daily tasks, to-dos, and appointments
- Notes Section: For ideas, reminders, or inspiration
- Goal Tracker: Break down big goals into bite-sized steps
Optional Sections
- Meal Planner & Grocery List: Save time and eat better
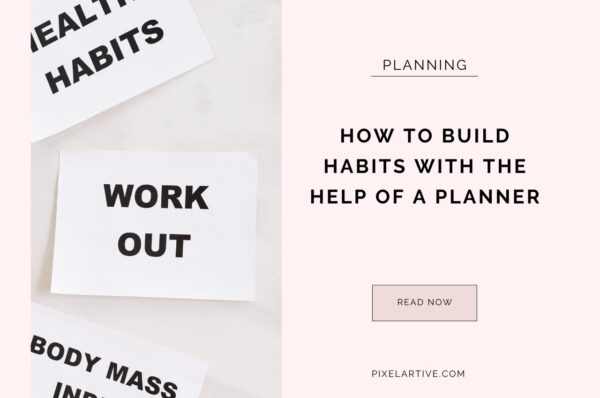
- Habit Tracker: Monitor things like workouts, hydration, or screen time
- Self-Care Journal: Reflect on your wins and practice gratitude
- Study Schedule: Great for students managing classes and exams
Step 4: Try Time-Blocking
Time blocking means giving each task or activity a specific time slot. It helps you:
- Avoid multitasking
- Stay focused
- Create a better work-life balance
Start by blocking out your non-negotiables: sleep, work hours, school, etc. Then add in time for tasks, breaks, and even fun.
Step 5: Use Color Coding
Color coding makes your planner easier to read and more fun to use:
- Blue: Work tasks
- Green: Personal appointments
- Pink: Social plans
- Yellow: Self-care or hobbies
Keep your color system simple. You don’t need 10 colors – just enough to create visual clarity.
Step 6: Set Reminders and Review Weekly
Even the best planner won’t work if you forget to use it. Here’s how to build the habit:
- Set digital reminders (on your phone or computer) to check your planner daily
- Review weekly: Reflect on what went well and what you want to improve
- Celebrate wins: Big or small, progress keeps you motivated
Step 7: Make It a Creative Outlet
Decorating your planner isn’t just about looks – it boosts motivation too. Here’s how:
- Use washi tape, stickers, or stamps to highlight key dates
- Create a theme for each month or week (minimal, seasonal, bold)
- Make time each Sunday to prep and decorate for the week ahead
Featured Tools From Pixelartive
If you’re ready to take the guesswork out of planning, our tools can help:
- Digital Daily Planner – Use on your tablet or phone
- Printable Monthly Planner – Easy to print and use right away
- Goal & Habit Tracker – Track progress and stay motivated
All templates are customizable, beginner-friendly, and made to help you stay on track.
Final Thoughts: Planning That Works With You
Planning isn’t about creating a rigid system. It’s about creating more ease in your life. The best planner is one that adapts to you, not the other way around.
So take your time, explore what works, and make your planner something you enjoy coming back to every day.
Ready to build a planning routine that sticks? Shop Pixelartive’s most-loved planner templates today